You’ve just finished the 2am feed, the baby’s finally asleep, and you’re standing at the kitchen sink staring at a pile of bottles wondering if you’re doing this whole sterilising thing right. Maybe your mum told you to just boil everything. Your mate swears by those microwave bags. The health visitor mentioned cold water tablets. And now you’re scrolling your phone at stupid o’clock trying to work out which method actually works — and which one fits your life.
Here’s the thing: every method on this list will sterilise baby bottles in practice when done properly. The NHS recommends sterilising all feeding equipment until your baby is at least 12 months old, and there’s no single “best” way to do it. But each method has real trade-offs in cost, speed, convenience, and practicality that nobody seems to talk about truthfully. So let’s fix that.
Why Sterilising Matters (and When You Can Stop)
Newborn immune systems are still developing, which makes them vulnerable to bacteria that would barely bother an adult. Milk residue left in bottles creates the perfect breeding ground for bugs like E. coli and salmonella. Sterilising doesn’t just clean — cleaning with hot soapy water does that — it kills the bacteria that cleaning alone misses.
The NHS guidance is clear: sterilise everything that touches milk or your baby’s mouth until they’re 12 months old. That includes bottles, teats, breast pump parts, and dummies. After 12 months, a thorough wash in hot soapy water is fine for most items, though plenty of parents keep sterilising longer. No judgement either way.
One important note before we get into methods: always wash bottles thoroughly in hot soapy water before sterilising. A bottle brush is essential here — get into every corner and turn teats inside out. Sterilising doesn’t work properly if there’s dried milk still stuck to the plastic. Think of it like painting a wall — you wouldn’t skip the prep.
Electric Steam Sterilisers
This is what most UK parents end up using, and for good reason. Electric steam sterilisers heat water to 100°C and hold it there long enough to kill 99.9% of bacteria. The whole cycle takes about 6-12 minutes depending on the model, and contents stay sterile for up to 24 hours if you keep the lid closed.
How to use one:
- Wash all bottles and parts thoroughly first
- Add the specified amount of water (usually around 200ml — check your model)
- Load bottles upside down so steam reaches inside
- Close the lid and press start
- Leave everything inside with the lid on until you need it
The good stuff: Dead simple to use. Consistent results every time. No chemicals involved. Most hold 6 bottles at once, so you can batch sterilise and be done. The Tommee Tippee Closer to Nature steriliser (about £35-50 from Argos or Amazon UK) is the one most people buy, and it works well. The MAM Easy Start Anti-Colic steriliser (around £60-70 from Boots) is pricier but self-sterilises in the microwave too.
The downsides: Takes up counter space — and in a small British kitchen, that matters. Uses electricity, though not much (a cycle costs about 3-4p). You’re also tied to a power socket, which is useless when you’re at your in-laws’ for the weekend.
Best for: Families who are mainly at home, doing multiple feeds a day, and want the simplest possible routine.
Microwave Steam Sterilisers
Same principle as electric — steam at high temperature — but using your microwave to generate the heat instead of a built-in element. Faster too, typically 4-8 minutes depending on your microwave wattage.
How to use one:
- Wash everything first (yes, every time)
- Add water as directed — usually 200ml
- Arrange bottles upside down in the steriliser
- Microwave on full power for the time specified (usually 4-6 minutes at 1000W+)
- Let it cool for a couple of minutes before opening — that steam is properly hot
The good stuff: Cheaper to buy than electric models — the Milton Microwave Steriliser is about £15-18 from Boots or Tesco. Faster cycles. Takes up no permanent counter space since you store it in a cupboard. Contents stay sterile for 24 hours with the lid on.
The downsides: You can’t sterilise anything metal (so watch out for certain bottle parts). Your microwave is out of action during the cycle. Size is limited by your microwave — if you’ve got a smaller model, check the steriliser dimensions first. Some parents find loading and unloading a bit fiddly. For a related angle, see our Best Baby Bottles 2026 UK: Anti-Colic & Breastfeeding-Friendly guide.
Best for: Parents short on kitchen worktop space, anyone who wants a cheaper option that still uses steam, and households where the microwave isn’t in constant use.
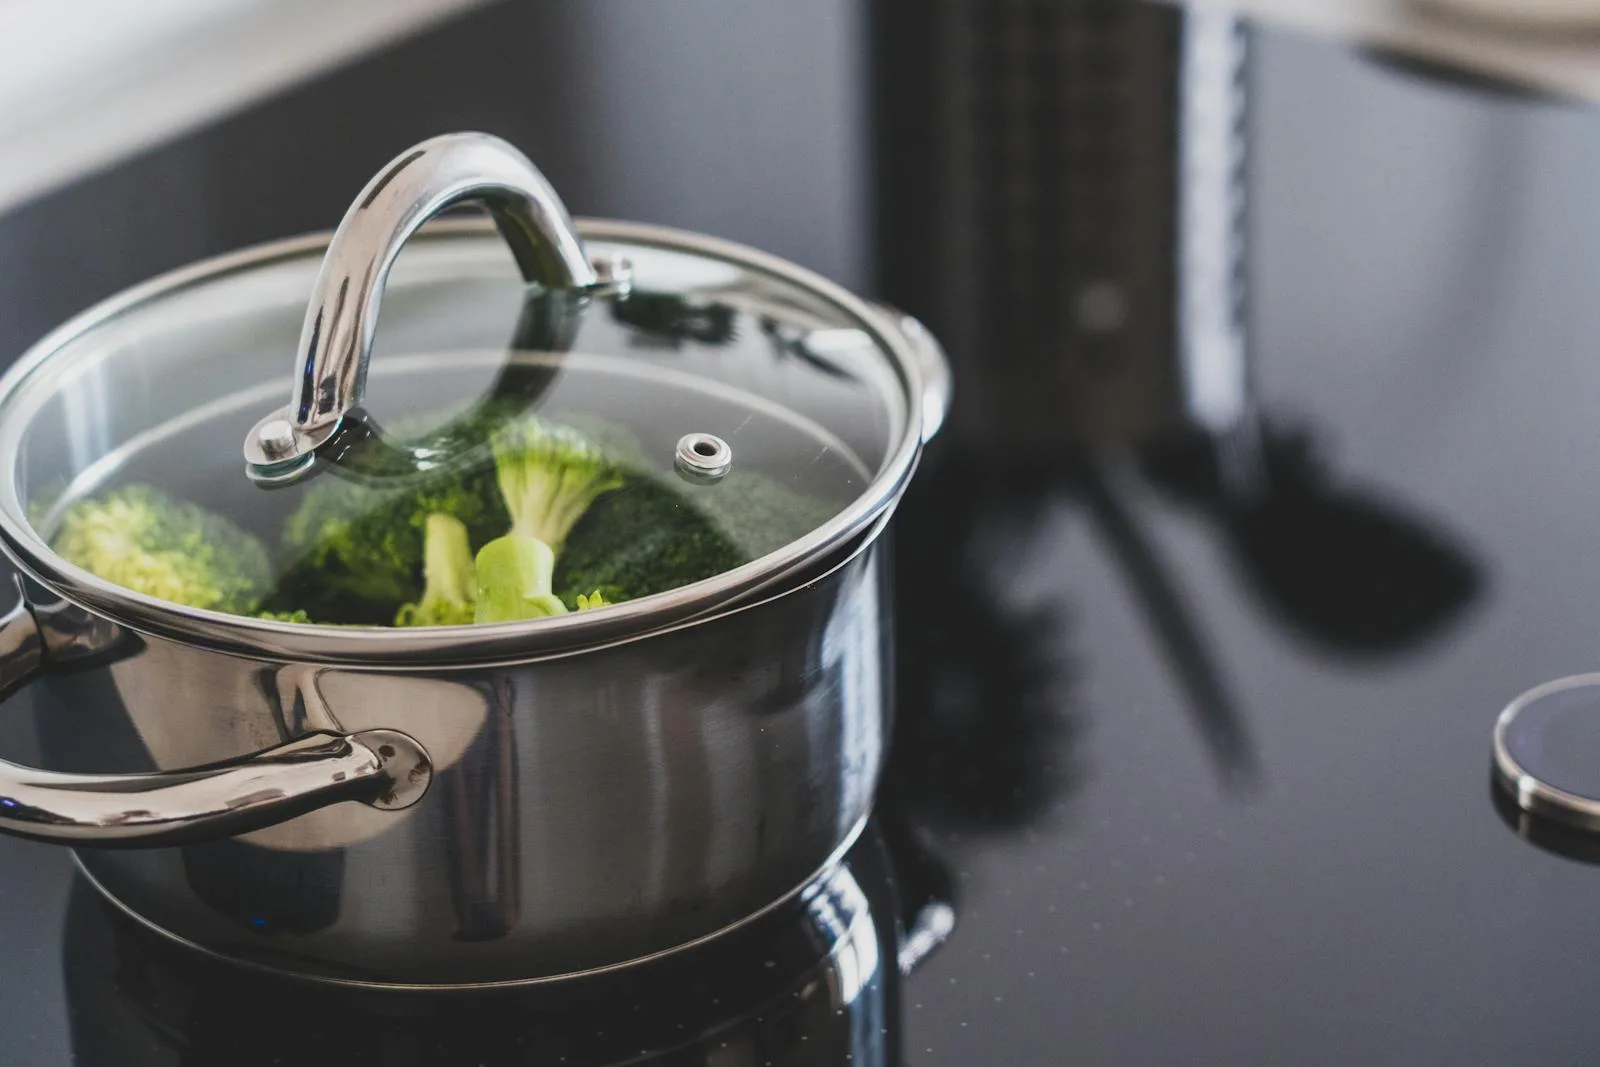
Boiling Water Method
Your gran did it this way, and it completely works. Submerging bottles in a rolling boil for 10 minutes kills everything you need it to. It’s the zero-cost method that requires nothing except a large pan and a hob.
How to do it properly:
- Fill a large pan with enough water to completely submerge all items
- Bring to a rolling boil
- Carefully lower bottles, teats, and lids into the water — make sure nothing is poking above the surface and there are no trapped air bubbles
- Boil for a full 10 minutes
- Remove with clean tongs (not your hands, obviously) and place on a clean surface to cool
The good stuff: Completely free. No equipment needed beyond what’s already in your kitchen. Works anywhere you have a stove — holiday cottages, camping with a gas hob, a friend’s house. No chemicals, no electricity beyond the hob. Our Best Video Baby Monitors 2026: Screen vs App-Based Compared guide is useful alongside this.
The downsides: This is where you need to be honest with yourself. Boiling degrades plastic and silicone faster than any other method. Teats become sticky and misshapen after repeated boiling — you’ll replace them more often. It’s also the most hands-on method; you can’t just press a button and walk away. Ten minutes of boiling means ten minutes of paying attention, which at 3am is a big ask. And those teats get expensive to replace constantly — a pack of two Tommee Tippee teats is about £4-5.
Best for: Occasional use, travelling, emergencies when your steriliser breaks, or parents who prefer the simplest possible approach with no gadgets. Not ideal as your everyday method if you’re doing 6-8 bottles a day. We cover a similar decision in Pushchair Accessories Worth Buying: Rain Covers, Liners & Organisers.
Cold Water Sterilisation
This uses chemical sterilising solution or tablets dissolved in cold water. You submerge everything for a set time (usually 30 minutes minimum) and it’s done. Milton is the brand name most people know, and their tablets have been around for decades.
How to do it:
- Fill a clean container or purpose-made cold water steriliser with cold water
- Add sterilising tablet or solution according to the instructions (one Milton tablet per 5 litres, typically)
- Submerge all items completely — use the plunger or float provided to keep everything underwater with no air bubbles
- Leave for a minimum of 15 minutes (Milton) or 30 minutes (some other brands)
- Items can stay in the solution for up to 24 hours
- No need to rinse — the solution is food-safe at the correct dilution
The good stuff: No electricity or heat needed at all. Brilliant for travelling — a few tablets, a clean bucket, and cold water is all you need. The solution stays effective for 24 hours, so you can dip items in and out all day. Milton tablets cost about £3-4 for a pack of 28 from any supermarket. This is the cheapest method to run by far. You may also want to read Best Baby Car Seats 2026 UK: Group 0+ Newborn Picks.
The downsides: That chemical smell puts some parents off, even though the solution is perfectly safe. Bottles and teats can pick up a slight taste, though rinsing with cooled boiled water sorts that out (despite the instructions saying no rinse needed). The 15-30 minute soak time means it’s the slowest method. You need to change the solution every 24 hours. And you need a container big enough to submerge everything — that’s more kitchen space used up.
Best for: Travelling families, anyone without reliable electricity, parents who want to sterilise throughout the day rather than in batches, and as a backup method alongside a steam steriliser.
UV Sterilisers
The newest kid on the block. UV sterilisers use ultraviolet light to destroy bacteria DNA, making them unable to reproduce. They’ve become popular in the last few years, particularly portable models designed for dummies and single bottles. For independent guidance, check NHS weaning guidance.
How they work:
- Place clean, dry items inside the unit
- Close the lid and press start
- UV-C light does the work — cycle times vary from 3 minutes (portable) to 10 minutes (larger units)
- Items must be dry first — UV light doesn’t penetrate water droplets in practice
The good stuff: No water, no chemicals, no steam. Portable versions like the 59S UV steriliser (about £25-35 from Amazon UK) are genuinely pocket-sized for dummies and teats. Larger units sterilise full bottles. The Philips Avent 4-in-1 UV steriliser and dryer (around £120-150 from John Lewis) combines drying and sterilising, which is clever.
The downsides: Expensive compared to every other method — that Philips unit costs more than a year’s supply of Milton tablets. Questions remain about whether UV sterilisation is as thorough as steam for complex shapes like bottle teats with folds and crevices. The NHS doesn’t specifically mention UV as a recommended method (they list steam, boiling, and chemical). Items must be completely dry first, which adds time. And you need to replace the UV bulb eventually.
Best for: Parents who want a chemical-free, water-free option and don’t mind paying more. Excellent for dummies and small items when you’re out and about. Less proven as a primary method for bottles compared to steam or chemical.
Which Method Should You Actually Pick?
If you want the honest answer: an electric steam steriliser for home use, with Milton tablets in your changing bag for days out. That combination covers 95% of situations most UK parents face.
But life isn’t one-size-fits-all. Here’s a quick breakdown:
- Tightest budget — Boiling method (free) plus Milton tablets for going out (about £3 a month)
- Small kitchen, no counter space — Microwave steriliser stored in a cupboard
- Travelling frequently — Cold water tablets and a collapsible container
- Maximum convenience at home — Electric steam steriliser, no contest
- Tech-forward, budget flexible — UV steriliser with dryer function
Whatever you choose, the single most important step is the one before sterilising: washing everything properly with hot soapy water and a bottle brush. Skip that, and no steriliser in the world will keep your baby’s bottles safe.
Common Sterilising Mistakes to Avoid
Even with the right equipment, a few common errors can undermine the whole process:
- Not disassembling bottles fully — Every ring, valve, and teat needs washing and sterilising separately. Milk hides in screw threads and valve gaps.
- Loading bottles right-side up — Steam and solution need to reach inside. Always place bottles upside down or at an angle.
- Using tap water in steam sterilisers in hard water areas — Limescale builds up fast. Use filtered water or descale monthly with white vinegar. If you’re in London, the Home Counties, or East Anglia, you already know about limescale.
- Touching sterilised surfaces — Use clean tongs or freshly washed hands. Don’t reach in and grab a teat with fingers that just handled raw chicken.
- Assembling bottles too early — If you won’t use them within an hour, leave them in the closed steriliser. Assembling and leaving them on the counter exposes them to airborne bacteria again.
If you’re also navigating car seat decisions alongside feeding equipment, our guide to choosing the right baby car seat covers UK safety standards in the same practical way.
Frequently Asked Questions
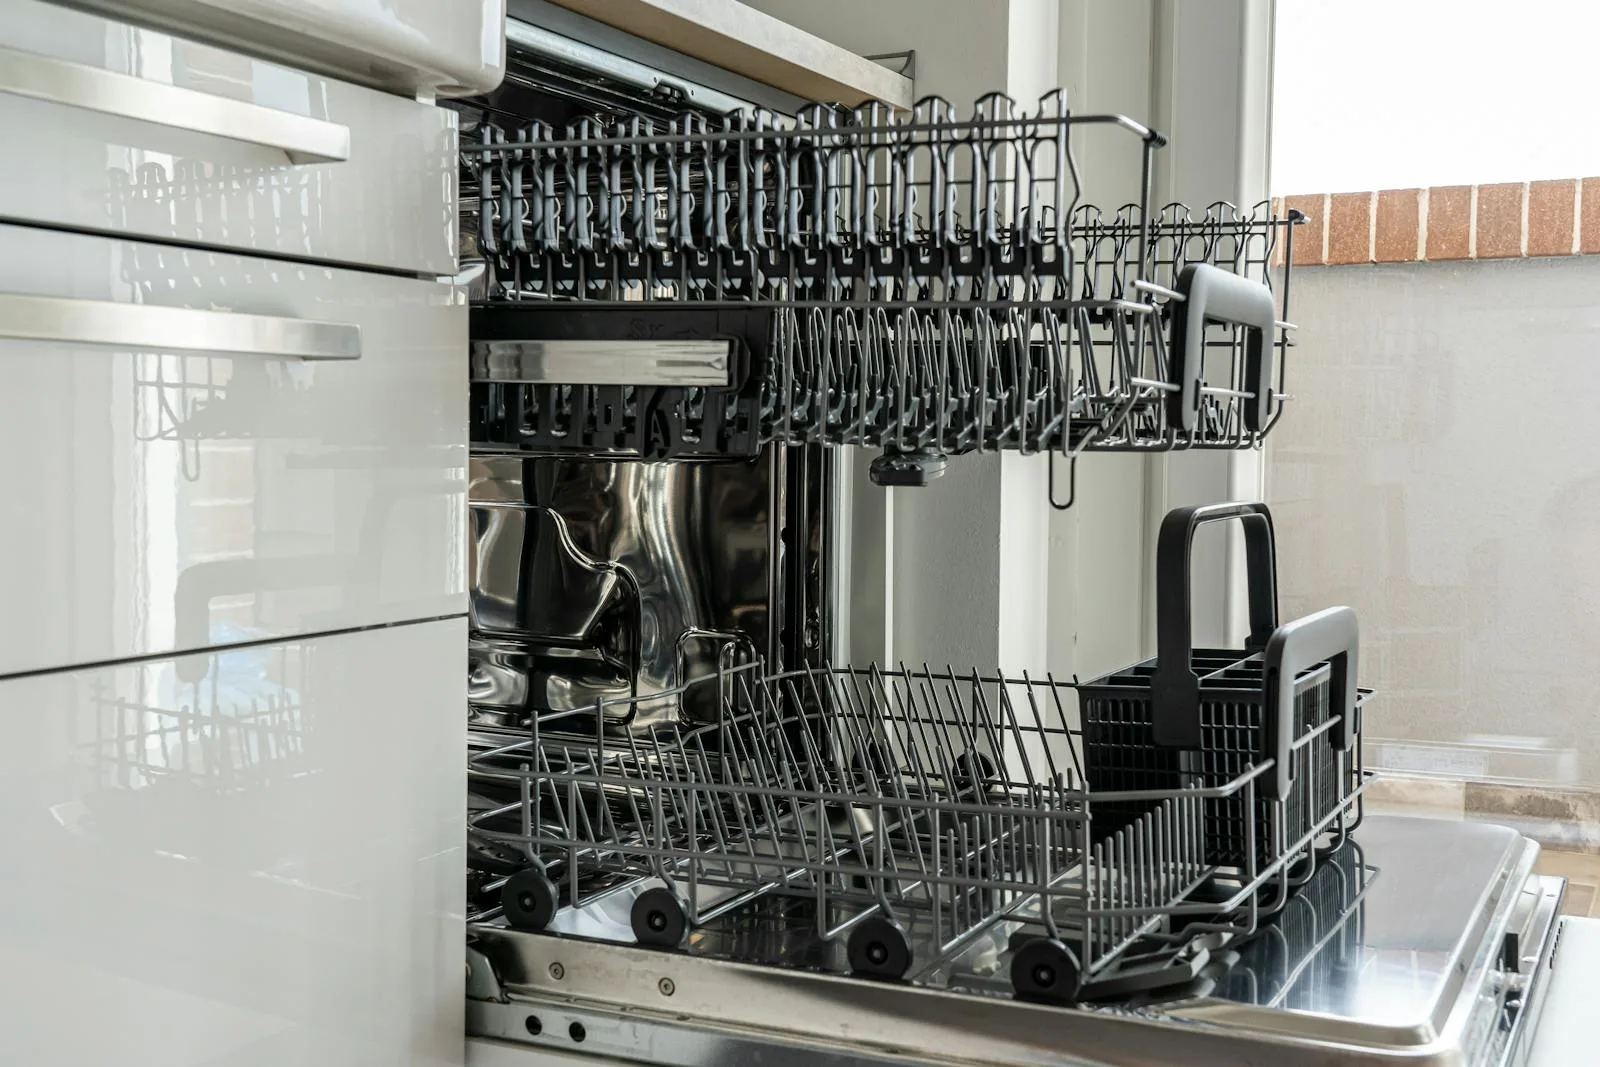
Can I sterilise baby bottles in the dishwasher? A hot dishwasher cycle (65°C+) will clean bottles thoroughly but doesn’t technically sterilise them. The NHS recommends proper sterilisation methods like steam, boiling, or chemical solutions. That said, many parents use the dishwasher for cleaning before sterilising, which is perfectly fine.
How long do bottles stay sterile after sterilising? In a closed steriliser with the lid on, bottles stay sterile for up to 24 hours. Once you open the lid or remove bottles, use them within a few hours or re-sterilise. In cold water solution, items stay sterile as long as they remain submerged and the solution is less than 24 hours old.
Do I need to sterilise bottles for breastmilk as well as formula? Yes. Whether you’re using bottles for expressed breastmilk or formula, sterilise them the same way. The risk of bacterial contamination from handling and storage applies equally to both.
Can I sterilise baby bottles with boiling water from a kettle? Pouring boiling water over bottles isn’t sufficient — items need to be fully submerged in a rolling boil for 10 minutes. You can pour kettle water into a pan and bring it back to a boil with the bottles submerged, but just rinsing with hot water won’t sterilise properly.
When can I stop sterilising baby bottles? The NHS recommends sterilising all feeding equipment until your baby is 12 months old. After that, thorough washing in hot soapy water is considered sufficient. Some parents continue sterilising longer, which is fine but not medically necessary.